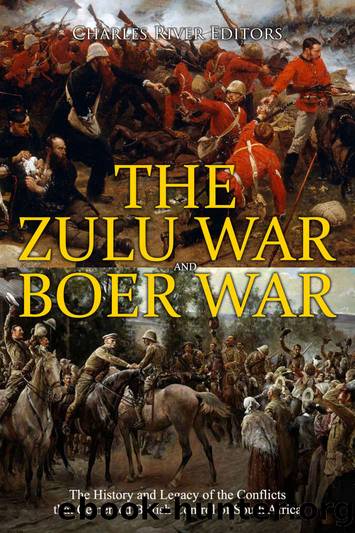
The Zulu War and Boer War: The History and Legacy of the Conflicts that Cemented British Control of South Africa by Charles River Editors

Author:Charles River Editors
Language: eng
Format: epub
Publisher: Charles River Editors
Published: 2020-06-11T16:00:00+00:00
An 1879 depiction of the Battle of Kambula
Before the Battle of Kambula, both sides engaged in back-and-forth raids and assaults, with the British marching deep into Zulu territory in an effort to attack their capital. On the other hand, the Zulu raided Boer lands, isolating British formations and fighting a defensive war against the British while keeping the Boers at bay. Now, after seizing the initiative at Kambula, the British were poised to continue their advance to the Zulu capital.
The result of this advance was the Battle of Gingindlovu. As a part of the advance into Zululand, the battle proved both an oddity and an early example of modern warfare. Along with traditional British troops and their native auxiliaries, sailors and Gatling guns joined the fray. One historian described the prelude to the battle:
âAt the end of March 1879, Colonel Pearsonâs Number One Column lay isolated in a fortified position at Eshowe, deep in eastern Zululand. Lord Chelmsfordâs desperate worry was that this force would succumb before he could relieve it.
âFollowing the disaster of Isandlwana, the British government rushed reinforcements to Natal: two regiments of cavalry, two batteries of Royal Artillery and five battalions of infantry.
âOn [the] 29th [of] March 1879, Chelmsfordâs column crossed the Buffalo River and began its march to the relief of Pearsonâs force. The country was covered by Zulu scouts. Signals flashed by heliograph were received from Pearsonâs camp at Eshowe. It was clear to Chelmsford that his advance would be fiercely contested, progress further impeded by the terrible weather.
âOn [the] 1st [of] April 1879, Chelmsfordâs column reached the Royal Kraal of Gingindlovu and laagered for the night. A heavy rain came on. Chelmsford had taken careful note of the lessons from Isandlwana. At every encampment, the wagons were carefully positioned to create an unbroken laager wall and the troops required to dig sections of trench around the laager. Every camp was rendered fully defensible in case of sudden attack.
âChelmsfordâs chief scout, John Dunn, a pre-war inhabitant of Zululand for many years, scouted across the Nyezane River. Beyond the river he encountered the Zulu Army, some 11,000 warriors. Dunn returned to the British camp and reported to Chelmsford that the Zulus would attack in the morning.â[xxvi]
The British forces consisted of the following units:
Royal Artillery, including a Gatling gun and rockets.
3rd Regiment, the Buffs: now the Princess of Walesâs Royal Regiment.
57th Regiment: later the Middlesex Regiment and now the Princess of Walesâs Royal Regiment.
3rd Battalion, 60th Rifles: later the Kingâs Royal Rifle Corps and now the Rifles.
91st Highlanders: later the Argyll and Sutherland Highlanders and now the Royal Regiment of Scotland.
99th Regiment: later the Wiltshire Regiment and now the Rifles.[xxvii]
Download
This site does not store any files on its server. We only index and link to content provided by other sites. Please contact the content providers to delete copyright contents if any and email us, we'll remove relevant links or contents immediately.
| Africa | Americas |
| Arctic & Antarctica | Asia |
| Australia & Oceania | Europe |
| Middle East | Russia |
| United States | World |
| Ancient Civilizations | Military |
| Historical Study & Educational Resources |
Papillon by Henry Charrière(1576)
Magic and Divination in Early Islam by Emilie Savage-Smith;(1573)
Bohemians, Bootleggers, Flappers, and Swells: The Best of Early Vanity Fair by Bohemians Bootleggers Flappers & Swells- The Best of Early Vanity Fair (epub)(1468)
Ambition and Desire: The Dangerous Life of Josephine Bonaparte by Kate Williams(1437)
Twelve Caesars by Mary Beard(1360)
What Really Happened: The Death of Hitler by Robert J. Hutchinson(1194)
Operation Vengeance: The Astonishing Aerial Ambush That Changed World War II by Dan Hampton(1180)
London in the Twentieth Century by Jerry White(1177)
The Japanese by Christopher Harding(1168)
Time of the Magicians by Wolfram Eilenberger(1160)
Twilight of the Gods by Ian W. Toll(1156)
Lenin: A Biography by Robert Service(1111)
The Devil You Know by Charles M. Blow(1064)
A Social History of the Media by Peter Burke & Peter Burke(1022)
Freemasons for Dummies by Hodapp Christopher;(987)
Napolean Hill Collection by Napoleon Hill(976)
Richard III (The English Monarchs Series) by Charles Ross(950)
Henry III by David Carpenter;(948)
The Rise and Triumph of the Modern Self by Unknown(942)
